Let’s face it — cleaning up leaves is one of those never-ending fall chores. But what if your leaf vacuum could do more than just tidy your yard? What if it could actually help the planet too? Yep, that’s totally possible. With the right techniques and tools — like a leaf vacuum mulcher or leaf blower vacuum mulcher — you can turn what used to be “yard waste” into something pretty amazing for your garden.
In this section, we’ll explore how to make your leaf cleanup greener, smarter, and easier — all while using your best leaf vacuum to its full eco-friendly potential.
1. Why Eco-Friendly Leaf Cleanup Matters
Think about it: every time you rake and bag your leaves, they often end up in landfills. When leaves decompose there, they release methane — a greenhouse gas that contributes to climate change. But when you use a leaf blower and vacuum or leaf mulcher vacuum to collect and repurpose those same leaves, you’re cutting down waste and helping nature thrive.
Turning your leaves into mulch or compost keeps your yard healthy, saves money on fertilizer, and keeps your community cleaner. It’s a simple switch that makes a big difference!
2. Turn Your Leaves into Gold (a.k.a. Mulch)
Mulching is one of the best things you can do with your collected leaves. When you use a leaf vacuum and mulcher, it shreds the leaves into tiny pieces that decompose faster. These small leaf bits act as a natural fertilizer — locking in moisture, protecting roots, and enriching the soil.
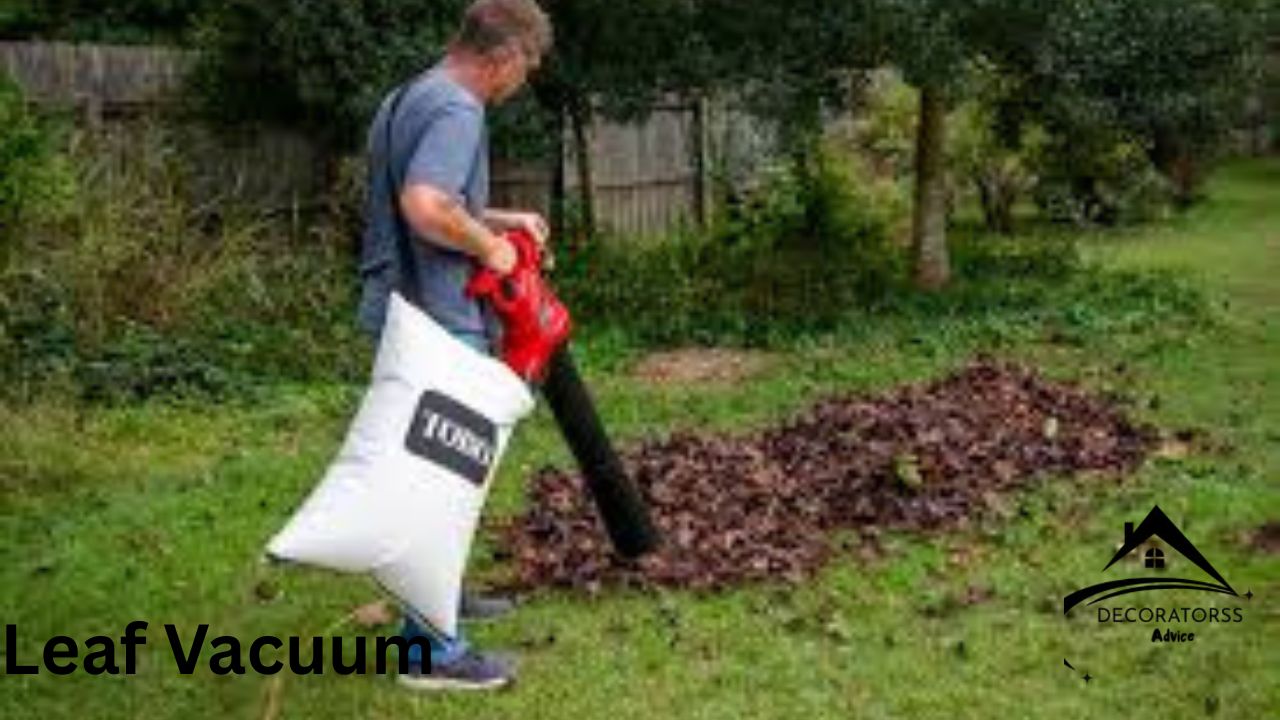
Tools like the Worx leaf vacuum, Toro leaf vacuum, and Ryobi leaf vacuum come with built-in mulching features. They let you vacuum and mulch in one go. If you’ve got a Billy Goat leaf vacuum or commercial leaf vacuum, you can tackle large areas and even load the mulch straight into a trailer for easy transport.
Pro Tip: Spread mulched leaves around garden beds about 2–3 inches thick. It’s nature’s version of a blanket for your plants!
3. Composting: Giving Leaves a Second Life
If you’ve got a compost pile, you’re already halfway to being an eco-hero! Add shredded leaves from your leaf vacuum mulcher to your compost bin along with grass clippings and kitchen scraps. The shredded texture from tools like the Ego leaf vacuum or Stihl leaf vacuum makes decomposition faster.
When properly balanced, your compost pile turns into nutrient-rich soil — a perfect natural boost for your garden come spring.
Quick Balance Tip: Mix one part green material (like veggie scraps) with three parts brown material (like shredded leaves) for the best compost mix.
4. Skip the Plastic Bags
Here’s a small change with a big impact — ditch those plastic yard bags. Instead, use reusable compostable paper bags or simply vacuum your leaves straight into a leaf vacuum trailer or collection bag. Whether you’re using a Dewalt leaf vacuum, Craftsman leaf vacuum, or cordless leaf blower vacuum, most models have durable, reusable bags that make cleanup simple and sustainable.
Eco Win: Reducing plastic use during fall cleanup might seem small, but it adds up — especially across neighborhoods and communities.
5. Powering Up — the Green Way
If you’re still using a gas leaf vacuum, consider switching to an electric or cordless leaf vacuum model. Brands like Black and Decker leaf vacuum blower, Ryobi leaf vacuum, and Ego leaf vacuum are not only quieter but also emission-free. That means no fumes, less noise pollution, and cleaner air for everyone.
And if you’re working with large properties or commercial spaces, a Billy Goat leaf vacuum or walk behind leaf vacuum with efficient fuel use can still help reduce emissions and get the job done faster.
6. Reuse Your Mulch for Seasonal Gardening
Once you’ve mulched your leaves with your best leaf blower vacuum or electric leaf vacuum, don’t just store the mulch away — put it to work! Use it as winter protection for garden beds, pathways, or even in your potted plants. In the spring, you can mix it into the soil to enhance nutrients naturally.
Gardeners love using leaf vacuums like the Cyclone leaf vacuum or Dr leaf vacuum because they make collecting and repurposing leaves effortless — and let’s be honest, kind of satisfying!
7. Keep Your Pool Clean the Eco Way
If you have a pool, fallen leaves can quickly turn your water murky. Instead of constantly fishing them out with a net, try a pool leaf vacuum. It’s quick, efficient, and keeps your filtration system from getting clogged. Plus, by emptying your vacuumed leaves into your compost pile, you’re keeping even pool cleanup eco-friendly.
8. Renting or Sharing Leaf Vacuums for Sustainability
Don’t have a leaf vacuum of your own? No problem! Consider a leaf vacuum rental from local stores like Home Depot leaf vacuum services. Renting reduces manufacturing demand and promotes a sharing economy — a win for your wallet and the planet.
If you’re part of a neighborhood group, sharing a cordless leaf vacuum or walk behind leaf vacuum can cut down on energy use and equipment waste. Imagine how much quieter fall cleanup would be if everyone shared one good leaf blower vacuum mulcher instead of each running their own!
9. Safe Storage for a Greener Tomorrow
Once leaf season ends, make sure your leaf vacuums are stored properly. Clean the filters, empty the collection bags, and store them in a dry place. Keeping your toro leaf vacuum or Black and Decker leaf vacuum in good condition means it’ll last for years — reducing the need for replacements and cutting down on waste.
Eco Tip: Always unplug or remove batteries from your leaf vacuum cordless models before storing them to preserve battery life and prevent damage.
10. A Greener Yard, A Happier You
Switching to eco-friendly leaf cleanup doesn’t just help the planet — it makes your yard healthier and your workload lighter. Every time you use your best leaf vacuum mulcher to turn leaves into mulch or compost, you’re giving back to nature instead of taking away from it.
Whether you’re running a commercial leaf vacuum, a billy goat leaf vacuums setup, or a simple cordless leaf vacuum, you’re part of a movement toward cleaner, greener outdoor care. And that’s something to feel really good about.
Final Thought
A leaf vacuum isn’t just a cleanup tool — it’s your eco-friendly partner in creating a thriving, sustainable outdoor space. From reducing landfill waste to enriching your soil naturally, your leaf blower and vacuum is one of the simplest ways to go green without extra effort.
So, next time you hear that familiar hum of your leaf vacuum mulcher, remember: you’re not just cleaning your yard — you’re helping the planet, one leaf at a time.
Maintenance & Troubleshooting Tips for Leaf Vacuums
Owning a leaf vacuum is like having a superpower for your yard — it saves time, effort, and keeps your lawn looking fresh year-round. But just like any other powerful tool, your leaf blower vacuum, leaf vacuum mulcher, or cordless leaf vacuum needs a little TLC (tender loving care) to stay in top shape.
In this section, we’ll go step by step through maintenance routines, troubleshooting hacks, and smart pro tips that will help your best leaf vacuum last longer, work better, and save you from costly repairs.
Let’s dive in!
Step 1: Why Leaf Vacuum Maintenance Matters
Think of your leaf vacuum like a car. You wouldn’t drive for months without an oil change, right? The same idea applies here. Proper maintenance keeps your machine performing at full power, reduces clogging, prevents breakdowns, and extends its lifespan by years.
A clean and well-maintained leaf blower vacuum mulcher means:
Stronger suction power
Smoother operation
Less overheating
Longer motor life
Whether it’s a black and decker leaf vacuum blower, dewalt leaf vacuum, or ego leaf vacuum, following a consistent care routine ensures it stays reliable every season.
Step 2: After-Use Cleaning Routine
Cleaning your leaf vacuum after every use might sound like a chore, but it takes just a few minutes and prevents most problems before they start.
Here’s your simple cleaning checklist:
- Unplug or remove the battery (for electric or cordless models).
- Empty the collection bag — never leave leaves sitting inside. Moisture can cause mold or bad smells.
- Shake off the dust and debris from the exterior.
- Clean the intake and nozzle area with a small brush or cloth.
- Check the impeller (the internal spinning blade). If you notice buildup, gently clean it using a dry brush.
If you’re using a leaf vacuum mulcher, make sure the mulching chamber is clear before storing it. Leaves and twigs left behind can jam the impeller over time.
Pro tip: Use a handheld air compressor or leaf blower mode to clear stubborn debris quickly!
Step 3: Monthly Deep Cleaning
Once a month (or after several uses), give your leaf vacuum a more detailed clean-up.
Here’s what to do:
- Remove the bag or collection bin and wash it with warm, soapy water. Let it dry completely before reattaching.
- Check the air filters. Clogged filters reduce suction power. Replace or clean them as needed.
- Inspect the impeller blades. Sharp blades improve mulching efficiency, so if you use a leaf vacuum mulcher like the toro leaf vacuum or worx leaf vacuum, keep those blades sharp!
- Tighten screws and fittings. Over time, vibrations can loosen parts.
- Clean electrical contacts. Use a dry cloth to wipe the battery slot or power plug area.
This keeps even heavy-duty models like the billy goat leaf vacuum, craftsman leaf vacuum, and stihl leaf vacuum running like new.
Step 4: Battery & Cord Care
If you own a cordless leaf vacuum like the ryobi leaf vacuum, dewalt leaf vacuum, or ego leaf vacuum, battery care is everything.
Keep these rules in mind:
Fully charge the battery before storing.
Avoid overcharging — unplug once full.
Store batteries indoors in a cool, dry place.
Never expose them to extreme heat or cold.
For corded models like the black and decker leaf vacuum or electric leaf vacuum, inspect your cord regularly. Replace it if you see frays, kinks, or cracks. Always wind it loosely to avoid tangles or damage.
Step 5: Troubleshooting Common Leaf Vacuum Problems
Even the best leaf vacuum mulcher can run into a hiccup now and then. Here’s how to handle the most common issues like a pro:
Problem 1: Weak Suction
Possible causes:
- Full collection bag
- Clogged nozzle or tube
- Dirty filter
- Blocked impeller
Fix:
Empty the bag, clean the intake, check for blockages, and clean the filter. If your dr leaf vacuum or billy goat leaf vacuum still struggles, check the hose for hidden clogs.
Problem 2: Machine Suddenly Stops
Possible causes:
- Overheating
- Battery drained (cordless models)
- Loose power connection
Fix:
Turn it off and let it cool for 10–15 minutes. Check the power source or replace the battery. For gas-powered models like the cyclone leaf vacuum or gas leaf vacuum, inspect the spark plug and fuel level.
Problem 3: Strange Noises or Vibrations
Possible causes:
- Debris caught in the impeller
- Damaged fan blades
- Loose screws or bolts
Fix:
Turn off the vacuum, unplug it, and inspect the impeller area carefully. Clear any debris and tighten all screws. If the blade is damaged, replace it immediately to avoid further harm.
Problem 4: Bag Doesn’t Fill Properly
Possible causes:
- Air leak in the bag
- Clogged chute or nozzle
Fix:
Check for rips or tears in the collection bag. Replace if necessary. Clean the chute and ensure nothing’s blocking airflow.
Problem 5: Vacuum Doesn’t Start
Possible causes:
- Dead battery or unplugged cord
- Clogged intake
- Faulty switch or wiring
Fix:
Start by checking your power source. If it’s not the battery or cord, inspect the on/off switch or wiring. Sometimes, a quick dusting solves the issue!
Step 6: Caring for Gas-Powered Models
If you’re using a gas leaf vacuum, walk behind leaf vacuum, or commercial leaf vacuum, they need a bit more attention than electric ones.
Follow these golden rules:
- Empty fuel before storage to prevent gumming or corrosion.
- Check spark plugs every season — replace if dirty.
- Clean the air filter often to maintain power.
- Inspect the exhaust area for blockages.
- Use fresh, clean fuel. Old gas can cause startup issues.
For heavy-duty models like billy goat leaf vacuums, professional servicing once a year keeps performance strong and reliable.
Step 7: Seasonal Storage Tips
Before packing away your leaf vacuum for winter, take a few extra steps to protect your investment:
- Clean everything thoroughly — inside and out.
- Lubricate moving parts (check your manual).
- Remove the battery or unplug the cord.
- Store in a dry, shaded place — never outdoors.
- Hang the vacuum if possible to save space and prevent moisture buildup.
If you have a leaf vacuum trailer, store it on a level surface and cover it with a tarp to keep dust and rain away.
Step 8: When to Replace Parts
Over time, parts wear out — it’s natural. Here’s what to keep an eye on:
- Impeller blades: Replace every 1–2 seasons if dull.
- Filters: Change every 3–6 months depending on usage.
- Collection bags: Replace when torn or leaking air.
- Battery packs: After 2–3 years (for cordless leaf blower vacuums).
Using genuine parts from your brand — whether it’s toro leaf vacuum, stihl leaf vacuum, or craftsman leaf vacuum — ensures the best fit and performance.
Step 9: Preventive Maintenance Schedule
| Frequency | Task | Tools Needed | Brands Affected |
|---|---|---|---|
| After each use | Empty bag, wipe exterior, check nozzle | Brush, cloth | All |
| Weekly | Clean intake & filters | Brush, mild soap | Electric & cordless models |
| Monthly | Deep clean, check impeller, tighten screws | Screwdriver, cleaner | Black and Decker Leaf Vacuum, Ryobi Leaf Vacuum |
| Seasonal | Replace filters, sharpen blades, inspect bag | Utility knife, wrench | Billy Goat Leaf Vacuum, Dr Leaf Vacuum |
| Yearly | Fuel system check, pro inspection | Mechanic tools | Gas Leaf Vacuum, Cyclone Leaf Vacuum |
Sticking to this schedule ensures your best leaf blower vacuum performs efficiently every time you pull the trigger.
Step 10: Pro Tips for Long-Lasting Performance
Always let your leaf vacuum cool down before storing it.
Avoid overloading the motor — take breaks during long jobs.
Keep your workspace clear to prevent accidents.
Never operate on wet surfaces (especially for electric models).
Add a drop of machine oil to moving parts occasionally.
And here’s a little insider secret: using your leaf vacuum and mulcher regularly (even for light cleanups) actually keeps it healthier! Idle machines collect dust and clog up faster.
Step 11: When to Call for Repairs
If you’ve tried every fix and your leaf vacuum still won’t cooperate, don’t push it too far. It’s better to get a quick professional inspection than to risk permanent damage.
Call for service if you notice:
- Burning smells
- Grinding noises
- Electrical sparks
- Persistent clogs
Most Home Depot leaf vacuum brands or authorized dealers offer repair support, so don’t hesitate to reach out.
Final Thoughts
A well-maintained leaf vacuum isn’t just about saving money—it’s about making yard work easier, safer, and even a little fun. Whether you’re using a billy goat leaf vacuum for large lawns or a cordless leaf blower vacuum for small patios, proper maintenance keeps your tool powerful and ready whenever the leaves start to fall.
With just a few minutes of care after each use, you’ll extend the life of your leaf blower vacuum mulcher, improve performance, and enjoy cleaner results every season.
So, treat your leaf vacuum like a trusty yard companion—clean it, check it, and it’ll keep your outdoor spaces spotless year after year.