When it comes to tile design, grout often feels like the sidekick — quietly filling spaces while tiles get all the glory. But here’s the truth: choosing between sanded vs unsanded grout can make or break your entire project. The color, texture, and even how it’s applied can completely transform your floor, wall, or backsplash.
Let’s explore how to design beautifully with grout, install it like a pro, and make it last for years.
1. Designing with Sanded and Unsanded Grout
Your grout isn’t just a filler — it’s a design element. The right choice between sanded grout vs unsanded grout can change how your tiles look, feel, and even how your room “vibes.”
a. Color Coordination
Grout color can either blend in or stand out.
- Matching colors: If you want a seamless, unified look, choose grout that matches your tile shade. For example, white grout with white tiles looks clean and airy.
- Contrasting colors: For a bold statement, pick contrasting tones — like black grout with white tiles. This is especially stunning when comparing unsanded vs sanded grout in sleek bathrooms or modern kitchens.
Remember, darker grout hides stains better, while lighter shades make rooms look brighter.
b. Texture Choices
When you compare grout sanded vs unsanded, the texture difference plays a huge role.
- Sanded grout adds a gritty, earthy finish — great for rustic or industrial styles.
- Unsanded grout creates a soft, clean finish — perfect for modern or luxurious designs.
If you’re doing a backsplash, both sanded vs unsanded grout backsplash options work well depending on your tiles. Glossy glass tiles? Go with unsanded. Textured ceramic tiles? Sanded will give more grip and contrast.
c. Lighting Matters
Grout color looks different under different lighting. Natural light brings out warmth, while cool LED light makes it look sharper. Always test a small patch first — especially when deciding sanded grout vs unsanded grout showers, since bathrooms often have specific lighting setups.
2. Installation Tips for Sanded and Unsanded Grout
Installing grout doesn’t have to be scary! Here’s how to handle sanded vs unsanded grout in shower, on floors, and for backsplashes — without needing a professional.
a. Prepare Like a Pro
Before applying grout:
- Clean your tiles thoroughly — no dust, no grease.
- Make sure tile joints are uniform in width.
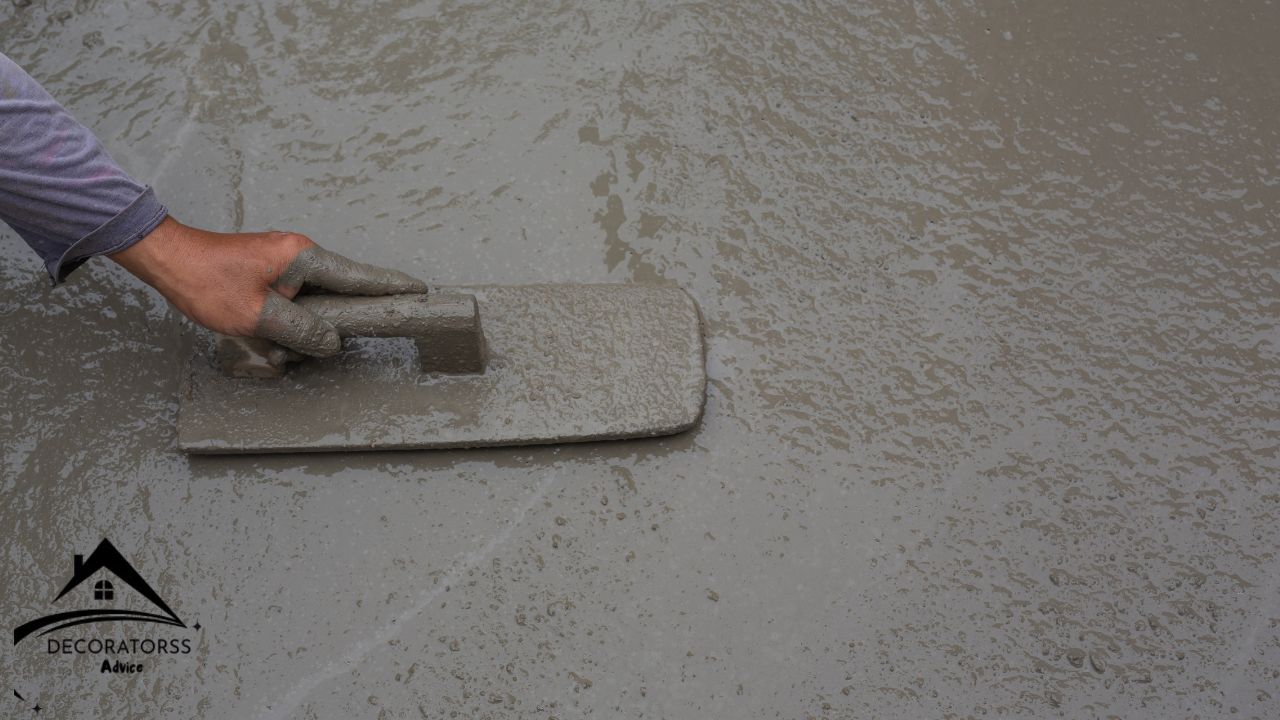
- Mix your grout to the right consistency (think of peanut butter — smooth but not runny).
Whether you’re using tile grout sanded vs unsanded, always let it rest for about 10 minutes after mixing before applying.
b. Applying the Grout
Use a rubber float at a 45° angle.
- For sanded grout vs unsanded, press the grout firmly into the joints.
- Work in small sections (2×2 feet) so the grout doesn’t dry too fast.
If you’re wondering when to use sanded vs unsanded grout, remember:
- Use sanded grout on floors or wide joints.
- Use unsanded grout on walls, showers, or thin joints.
c. Cleaning as You Go
After applying, let the grout sit for 15–30 minutes until it starts to haze. Then, wipe gently with a damp sponge. For sanded vs unsanded grout for shower, extra care is needed — showers often trap residue, so rinse multiple times.
d. Sealing for Protection
Cement-based grouts (both sanded grout vs unsanded grout) need sealing to prevent water damage and stains. Use a penetrating sealer once the grout has cured for 48–72 hours. Epoxy-based grouts usually don’t need sealing.
If you’re tiling a backsplash, sealing can help repel kitchen grease and stains — a crucial step in grout sanded vs unsanded backsplash projects.
3. Common Mistakes to Avoid
Even small grout errors can lead to big problems. Here are a few to watch for:
- Skipping sealer: Unsealed grout absorbs water, leading to stains and mold.
- Wrong type of grout: Using sanded on glass or marble tiles can scratch the surface. Always remember sanded vs unsanded tile grout matters!
- Overmixing water: Too much water weakens the bond and causes cracking.
- Ignoring cure time: Let the grout cure fully before walking or wiping.
These small details separate a clean, pro-looking finish from a messy one.
4. Smart Tips for Every Area
Each area in your home has different needs. Here’s how to pick wisely when comparing sanded vs unsanded grout for floor, showers, or backsplashes:
| Area | Recommended Type | Reason |
|---|---|---|
| Bathroom Floors | Sanded grout | Tough and resistant to cracking |
| Showers & Walls | Unsanded grout | Smooth and water-resistant |
| Backsplashes | Depends on gap width | Unsanded for small gaps, sanded for wider ones |
| Outdoor Patios | Sanded grout | Stronger against weather and traffic |
If you’re still torn between sanded vs unsanded grout for backsplash or sanded vs unsanded grout shower, test a small section first. The visual difference can surprise you!
5. Maintenance & Longevity Tips
Proper maintenance keeps your grout looking fresh for years.
- Clean regularly: Use mild soap and water. Avoid bleach-based cleaners that can fade the grout.
- Re-seal annually: Especially for cement-based sanded grout vs unsanded grout.
- Avoid harsh scrubbing: It can damage the surface, especially unsanded grout.
- Inspect frequently: Look for cracks or mold — fix early to prevent spreading.
For brand-specific options, MAPEI sanded vs unsanded grout is known for easy maintenance. Their products stay bright and resist cracking longer than many standard brands.
6. Expert Design Hacks (Bonus!)
Want your grout to look like it was installed by a pro? Try these:
- Mix two grout colors for a custom tone that complements your tiles.
- Use glow-in-the-dark grout for fun kids’ bathrooms or game rooms.
- Pair unsanded grout with marble for luxury, and sanded grout with stone for character.
- For small tiles, unsanded gives smoother seams. For large-format tiles, sanded adds grip and stability.
Even professional designers debate sanded grout vs unsanded grout showers, but the key lies in understanding your space — wet area or dry, light or dark, smooth or rough surface.
7. Final Thoughts
Choosing between sanded vs unsanded grout isn’t just about what fits between tiles — it’s about creating a design that lasts.
Whether you’re tiling a cozy bathroom, a chic kitchen backsplash, or a sturdy floor, your grout decision defines the final look and strength of your project.
So next time you compare sand grout vs unsanded grout, remember:
- Form + Function = Perfection.
- Style + Durability = Lasting Beauty.
When you combine the right grout type, color, and finish — your tiles won’t just look good; they’ll tell a story.


